Orders / Commandes (450) 449-4442


The stock availability is a live feed system. If item is not in stock, we will order it as fast as possible for you.
Some items are Special Order Only. We don't carry them in stock. Call us to place an order.
Check Stock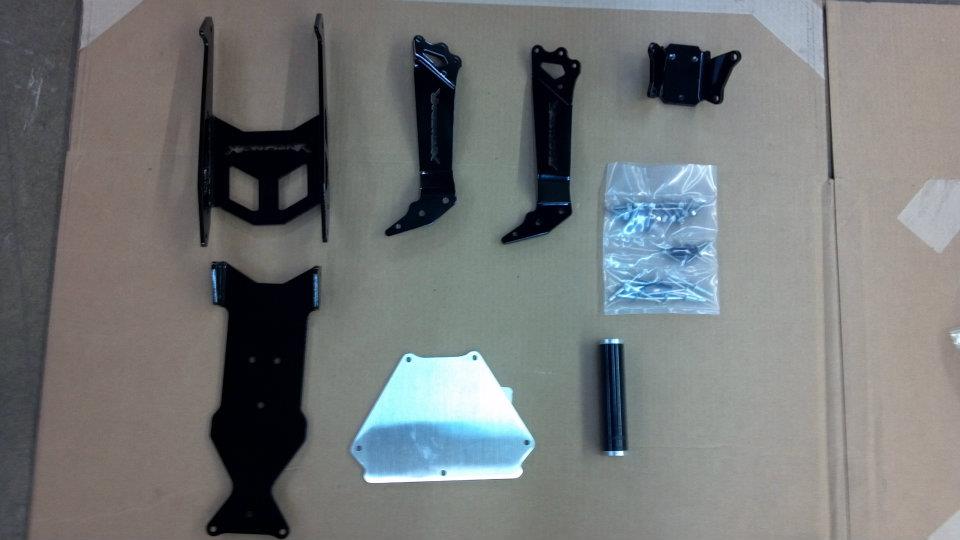
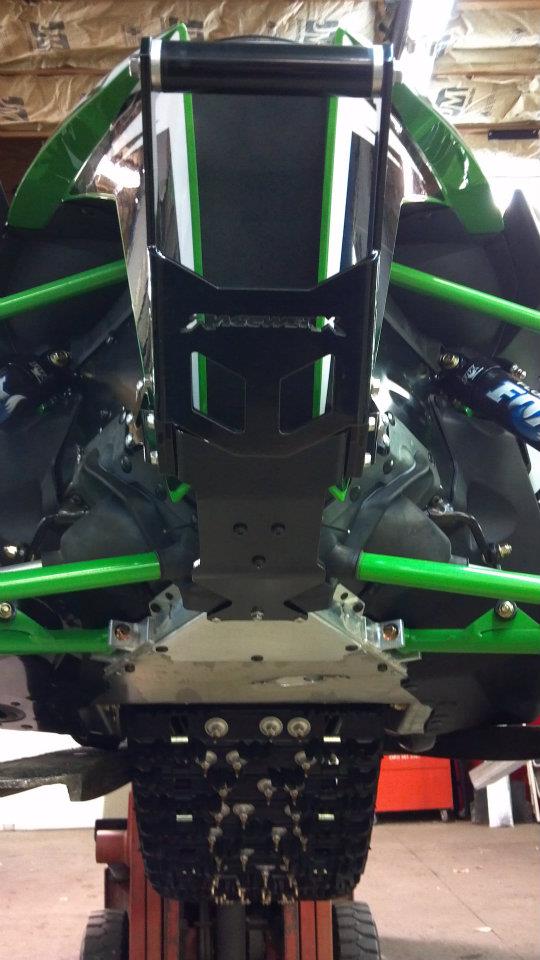
Here are some tips on installing your Racewerx Front bumper on a Arctic Cat Procross / Proclimb Snowmobile.
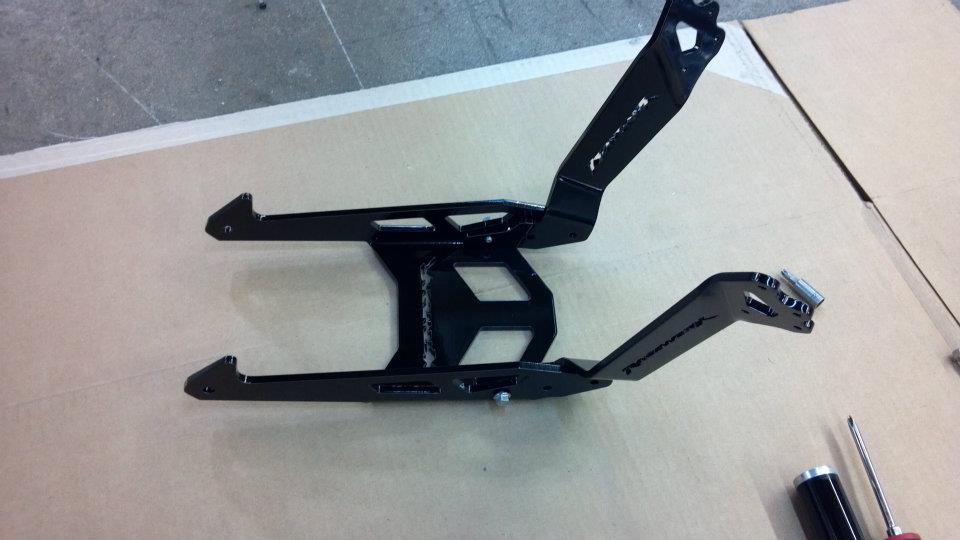
First Be sure that you kit came with the following. Rear Skid Plate, Center Skid Plate, Front Arm, Front Grab Handle, Side mounting Braces, Lower Mount, Hardware Kit. You will need a heavy duty rivet gun or air riveter for this install. Read and understand all instructions before starting install. Contact us for more information!
The first step Is to remove the stock bumper. You will need a T30 torx to do this. Retain all hardware.
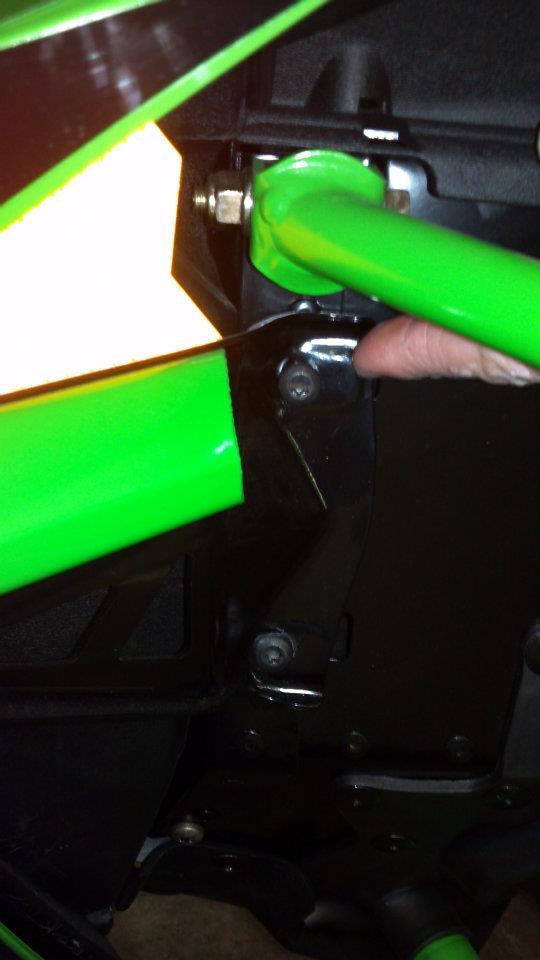
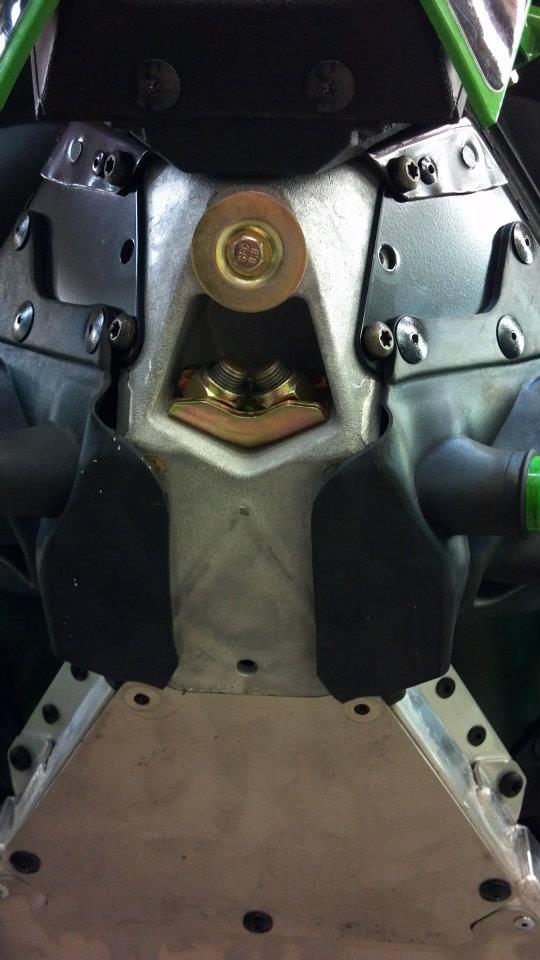
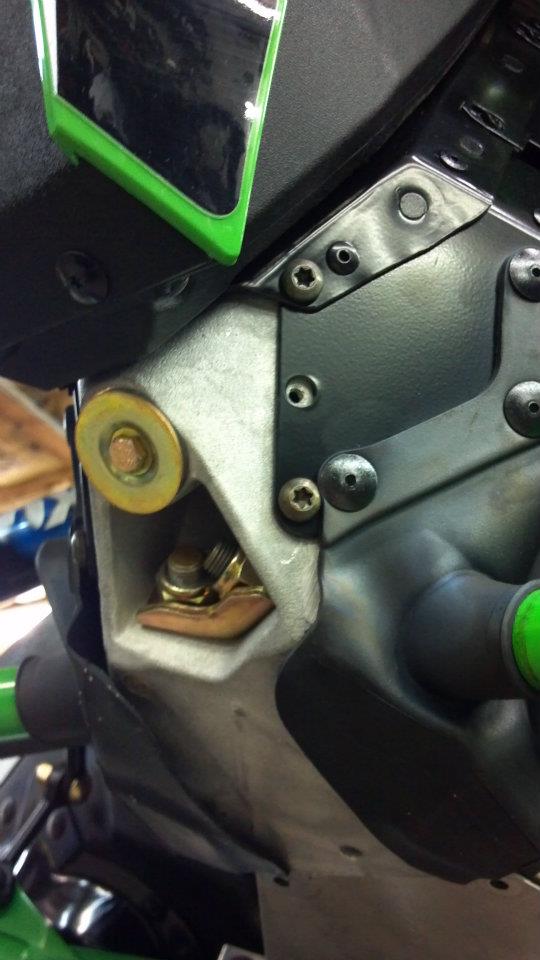
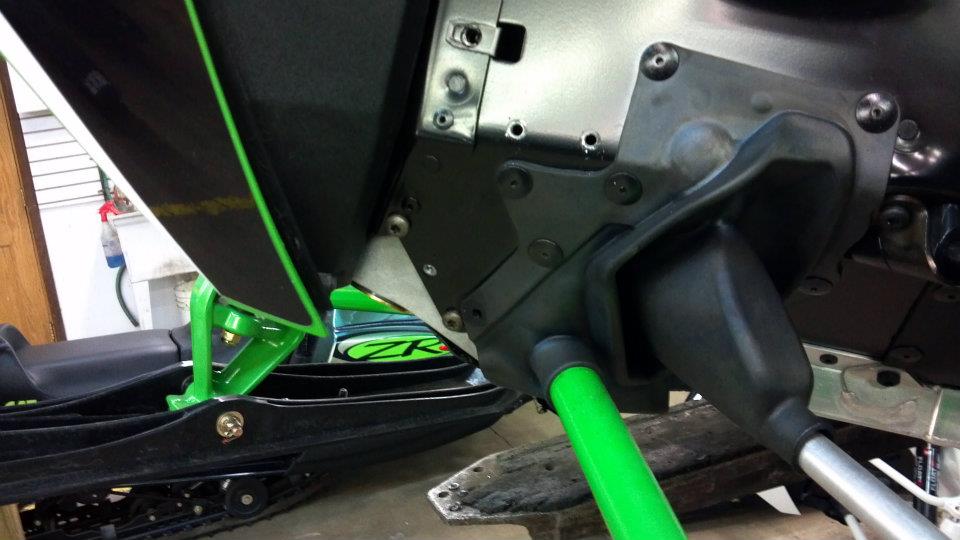
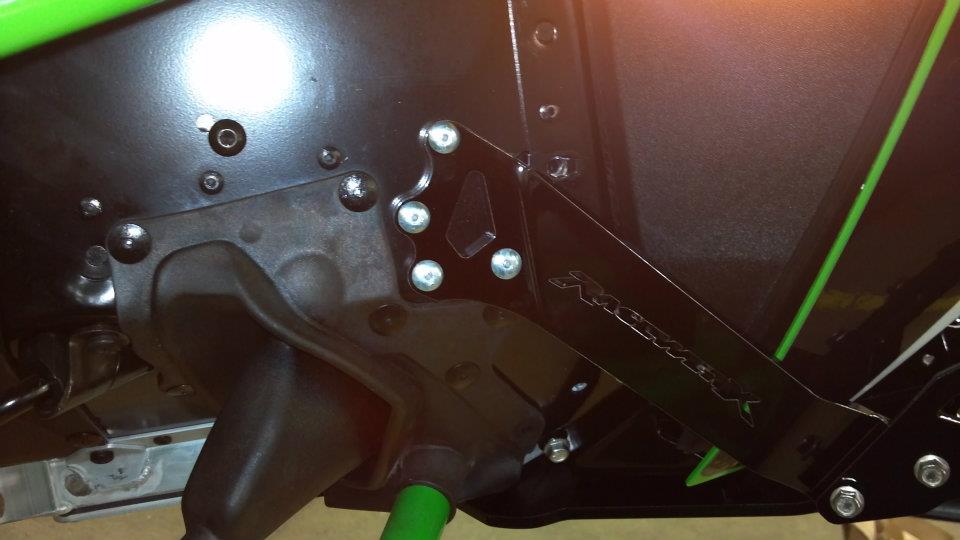
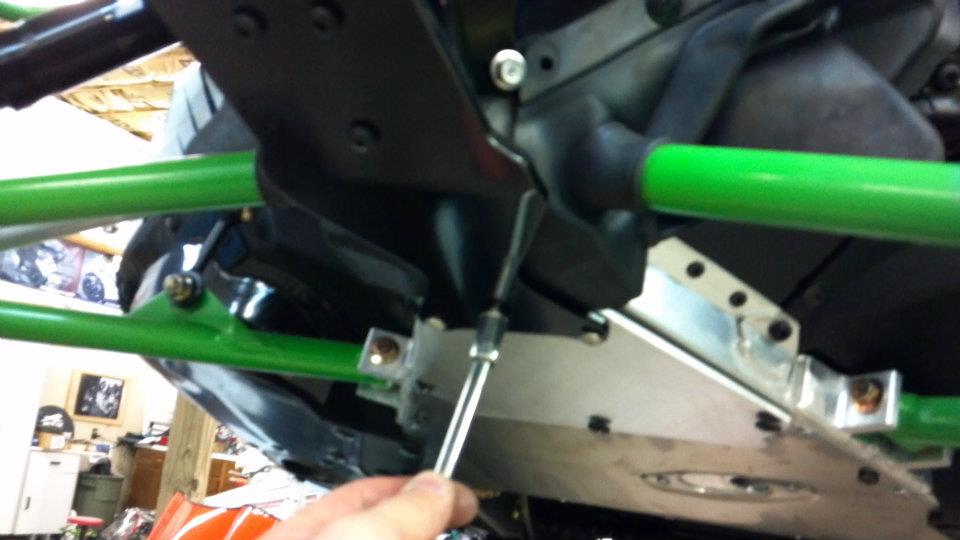
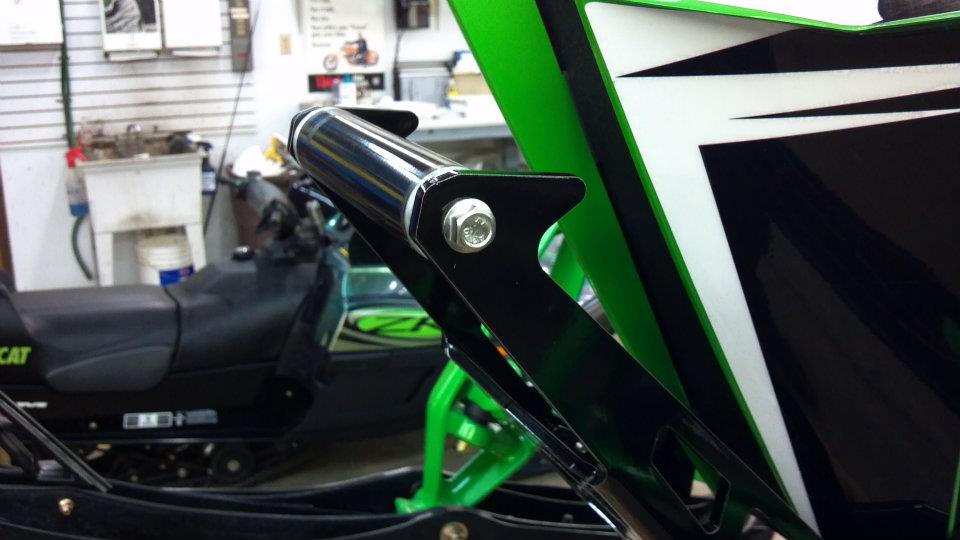
Inspect this bolt closely on your sled, If it is a hex head bolt you will need to use the Standard 1/4 x 20 mounting bolts. If it is a torx head you will need to use the metric 6mm x 1.0 mounting bolts. Sleds built before November will likely be metric.
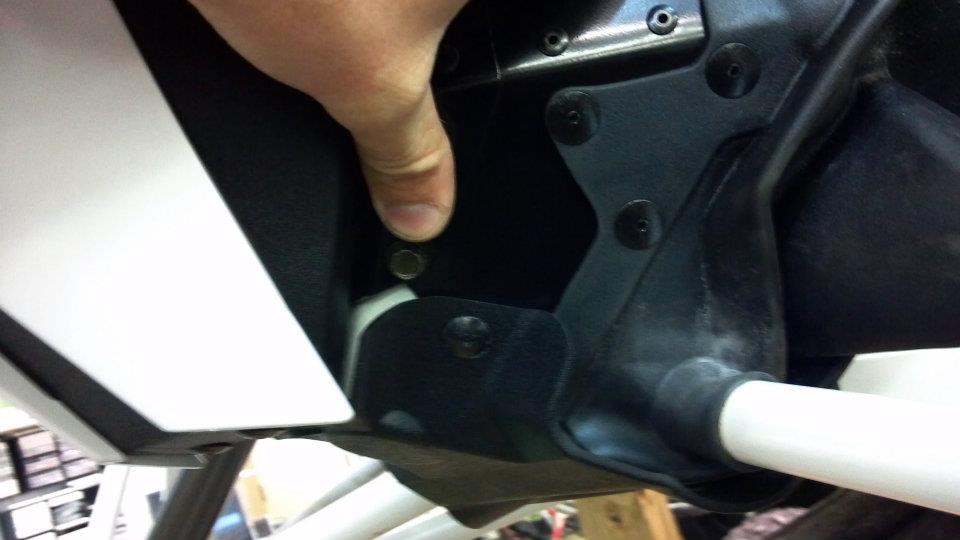
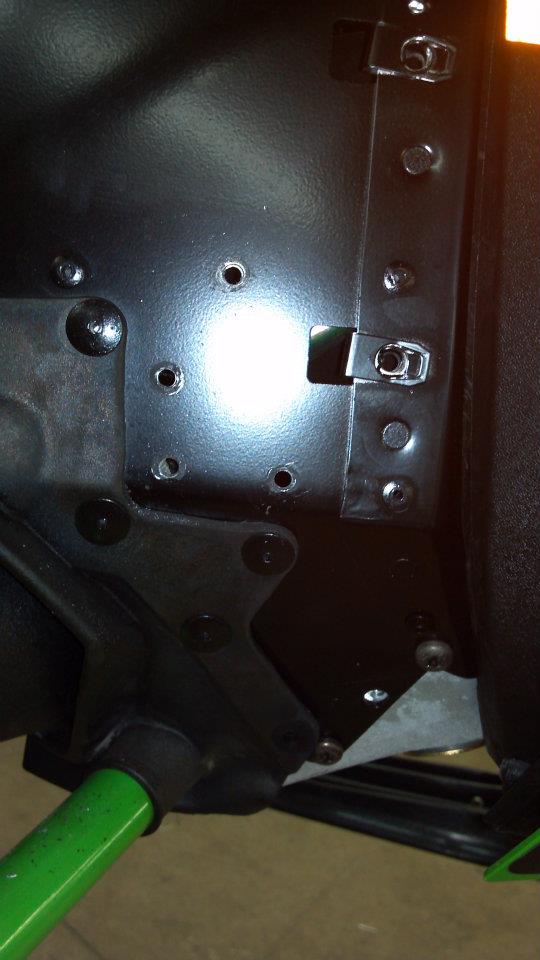
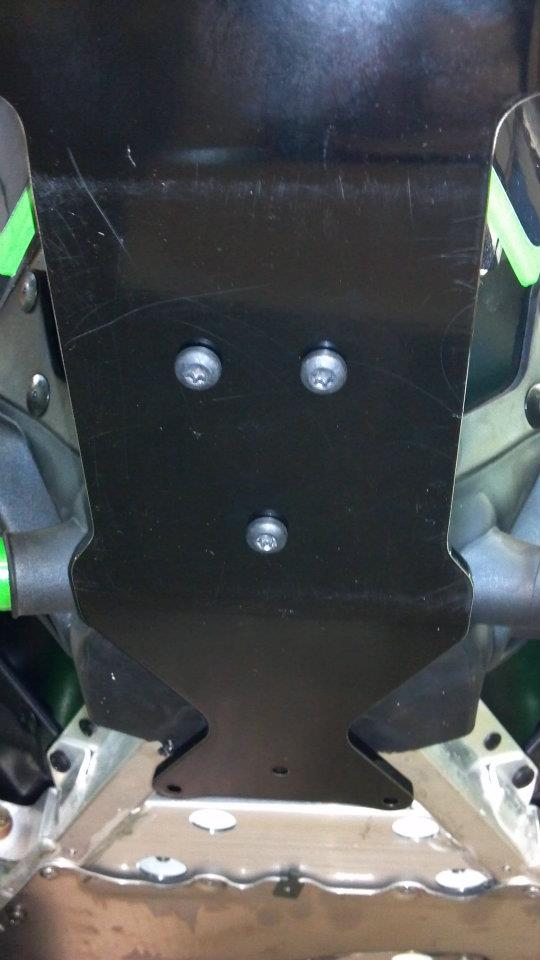
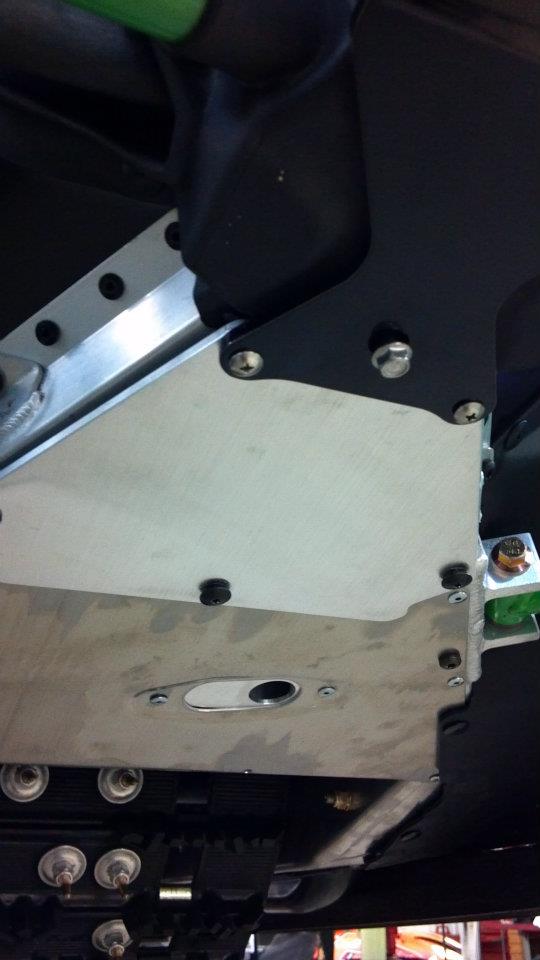
Remove the factory plastic skid plate and aluminum rear skid plate. You will use a T20 torx
Remove these 4 bolts. Notice this perticular model has the torx head which means that it will use metric mounting bolts
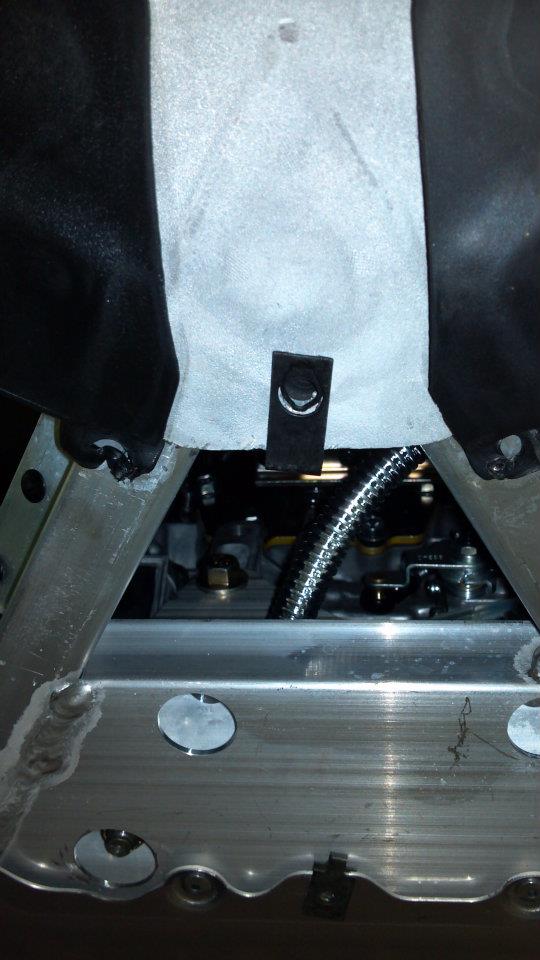
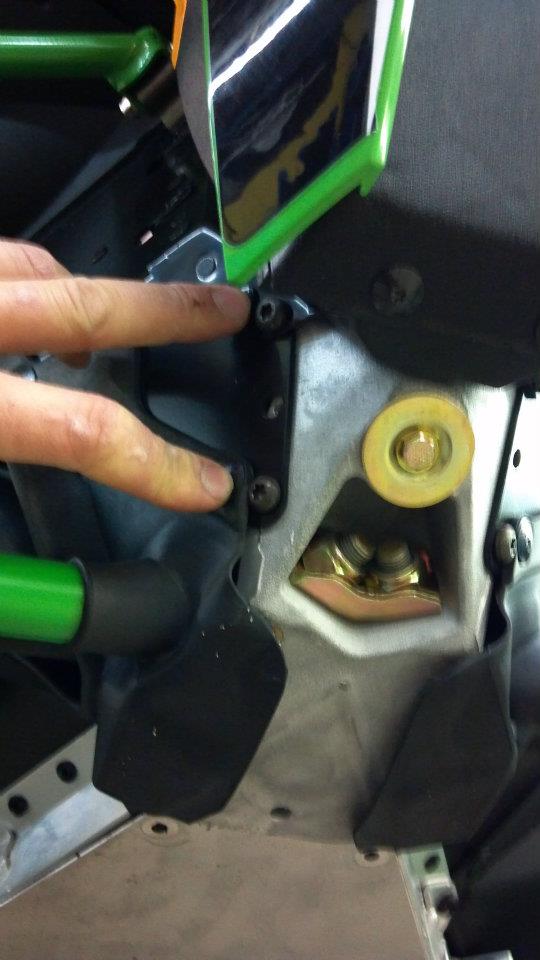
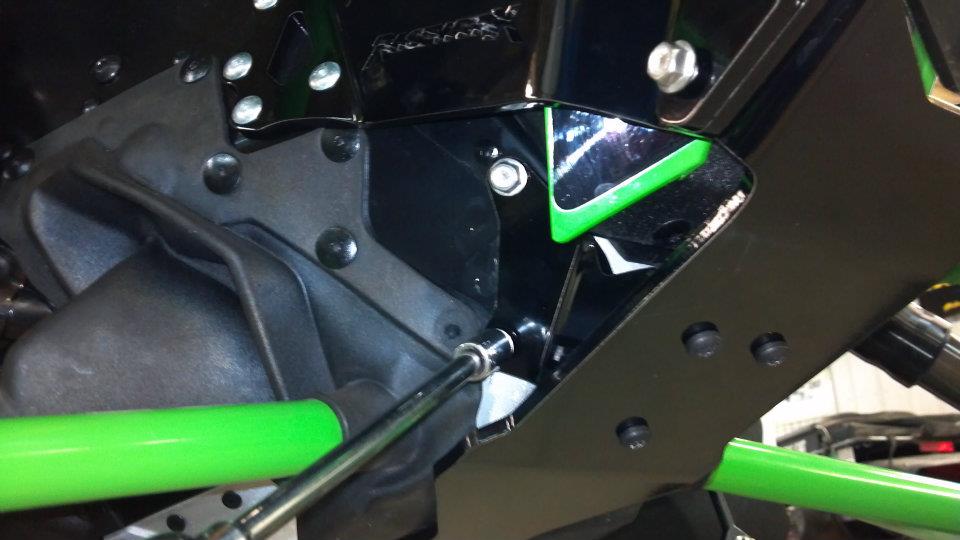
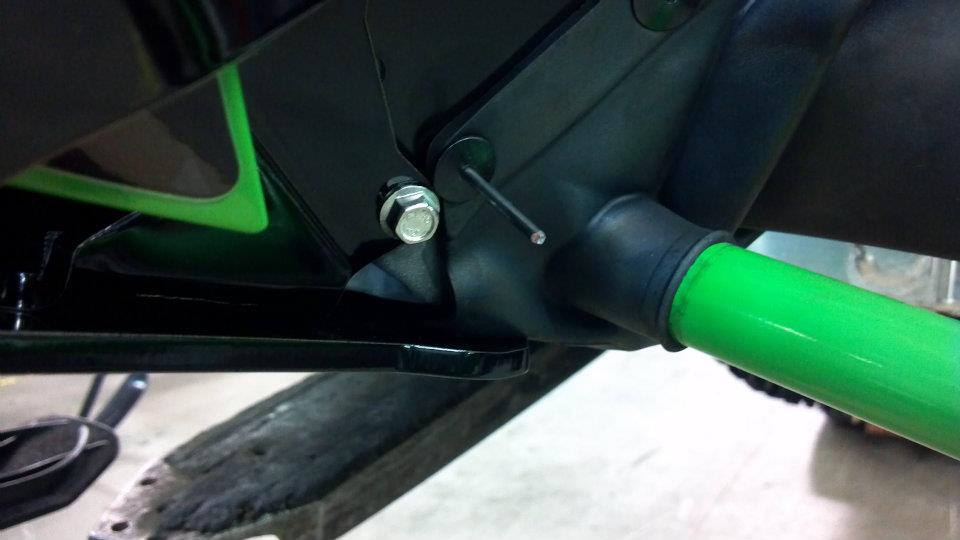
Install the spring clip onto the existing hole in the chassis. NOTE INSTALL ONLY FAR ENOUGH TO GET A BOLT STARTED. IF THE SPRING LOCK ENGAUGES THE HOLE THE BOLT WILL BECOME DAMAGED!
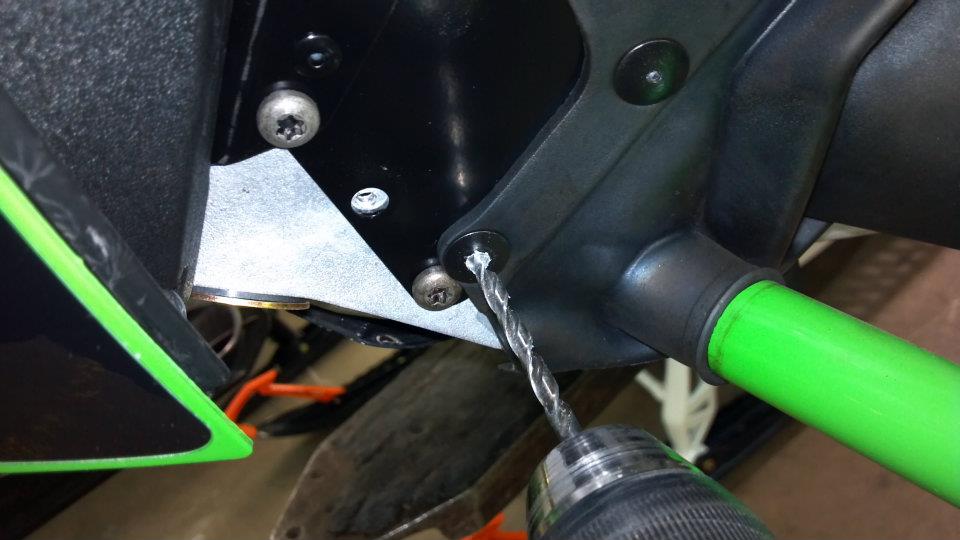
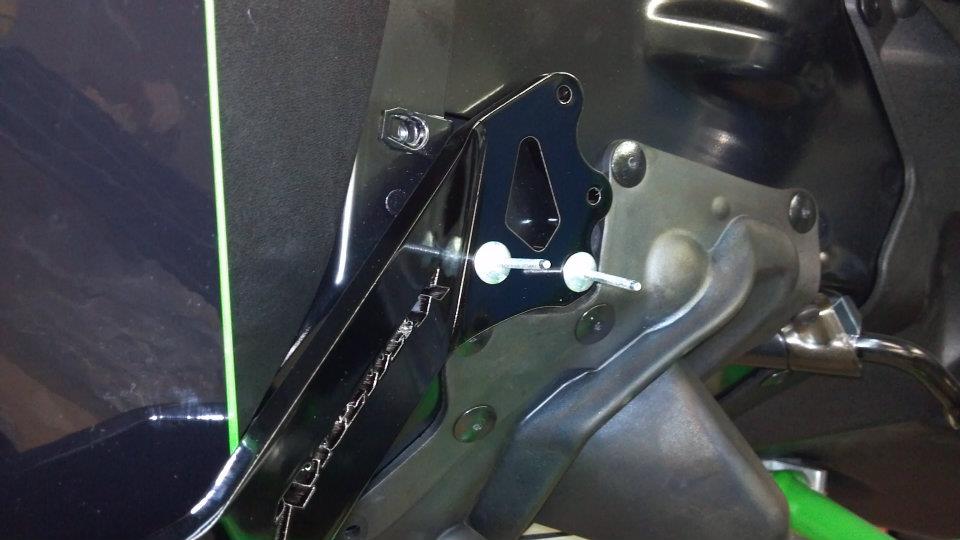
1) Drill out the rivet on the front of the rubber steering boot using a 3/16in drill bit. Repeat for other side.
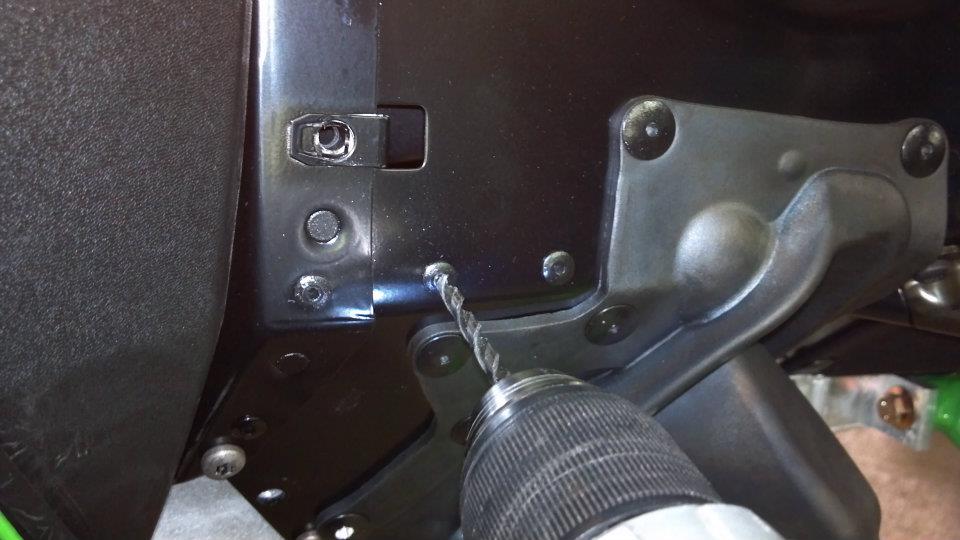
2) Drill out the existing 2 rivets on the left side, Be careful not to drill to deap as damage may occur.
1) Drill out the existing 4 rivets on the right side, Be careful not to drill to deap as damage may occur.
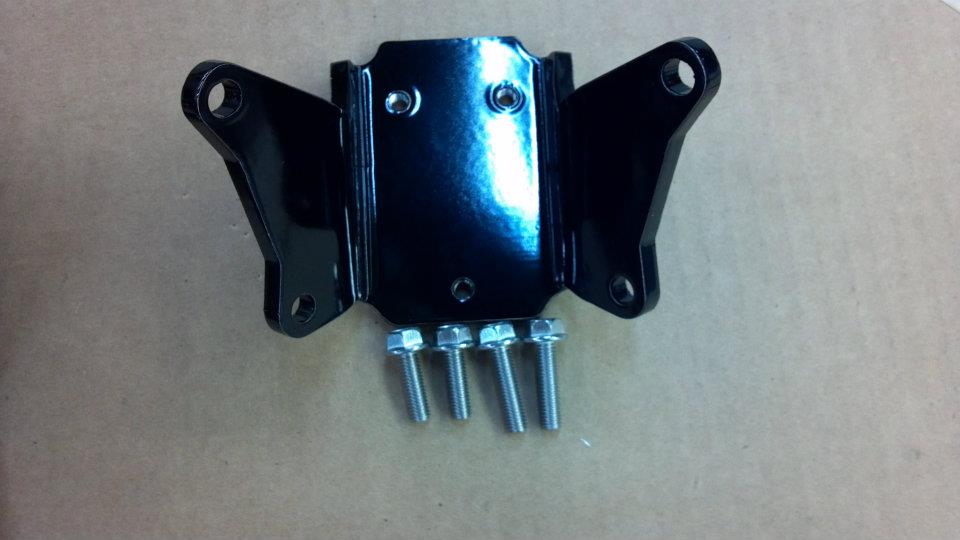
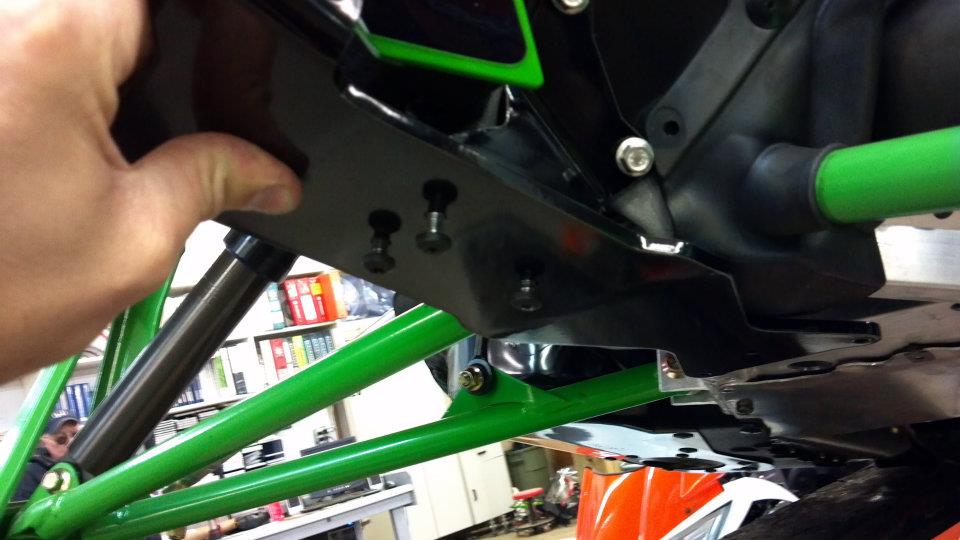
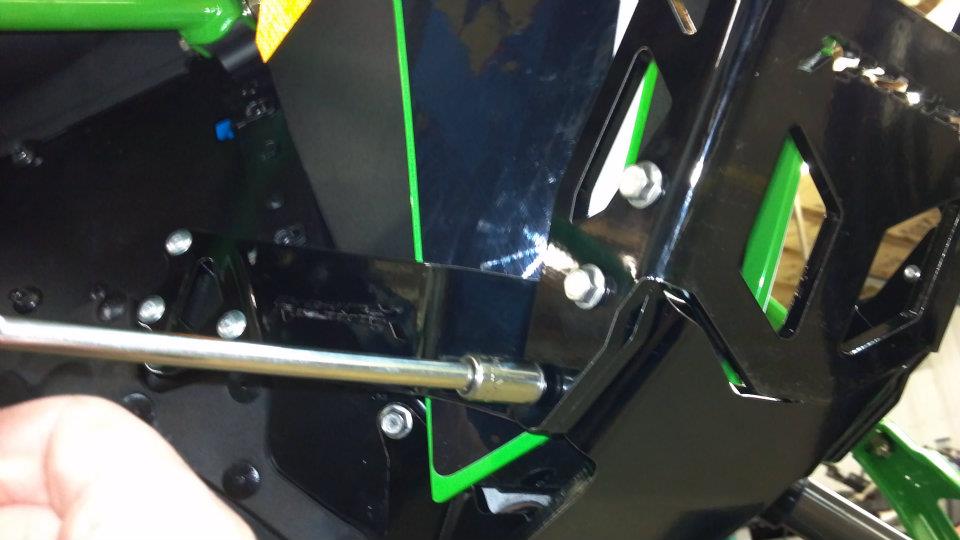
Install the lower mount using the hardware for your machine. Remember if you removed torx bolts you will use the metric hardware. If you used a 3/8 socket to remove them, use the standard hardware. The longer bolts are installed in the upper holes. DO NOT TIGHEN AT THIS TIME.
NOTE- we recommend using blue locitite on all fasteners.
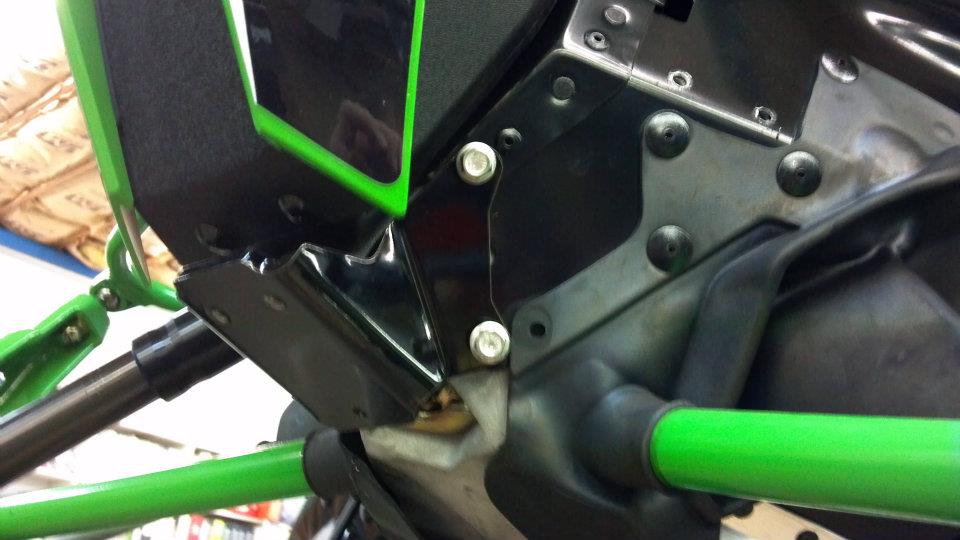
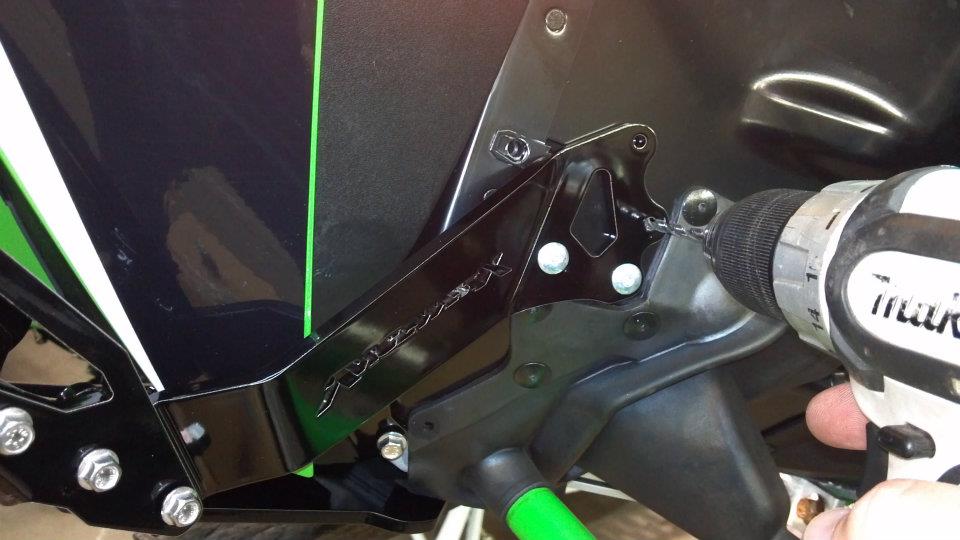
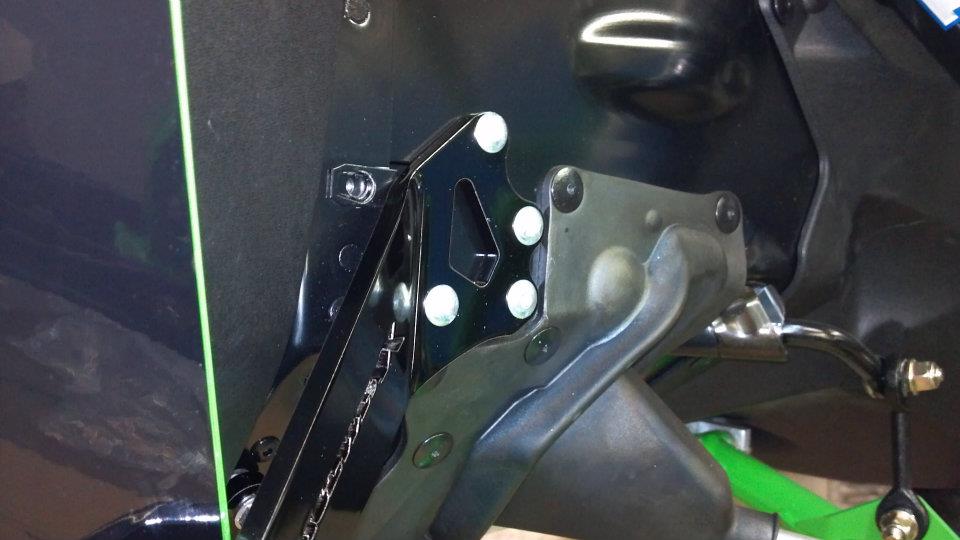
Loosely install the side braces to the front arm with a 6mmx16 bolt in the front hole. One on each side.
1) Use the bolts that you removed from your stock bumper to loosely attach the center skid.
NOTE- Turbo Kits will come with additional hareware for this step.
2) It must be loose before you continue!
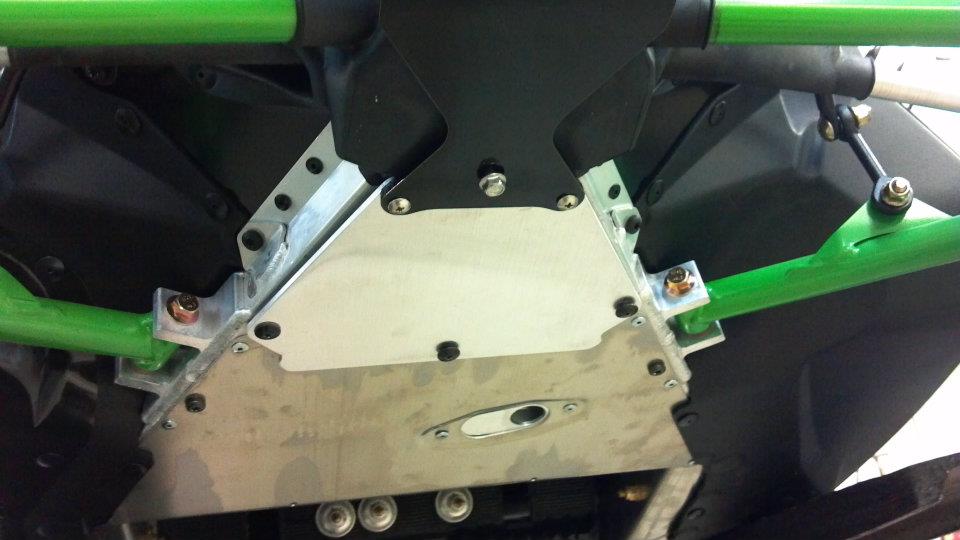
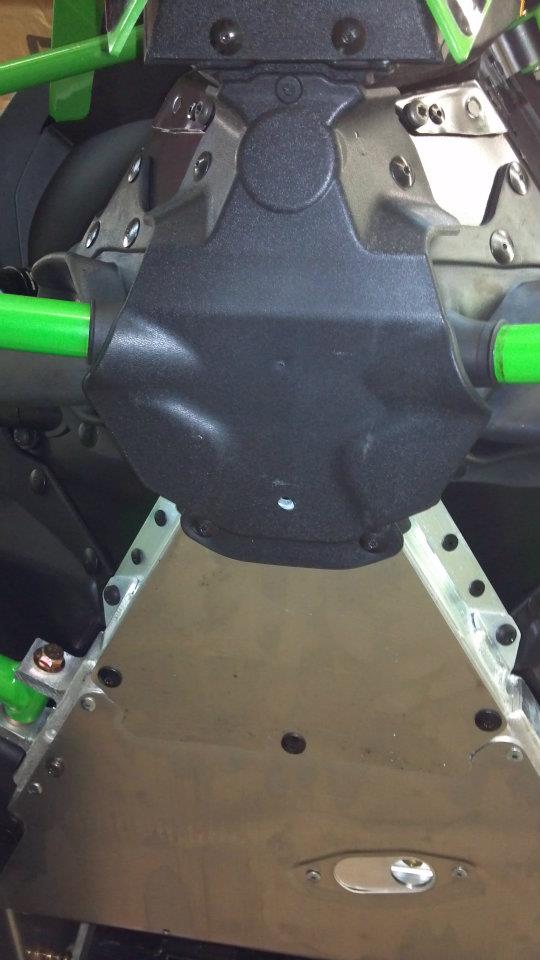
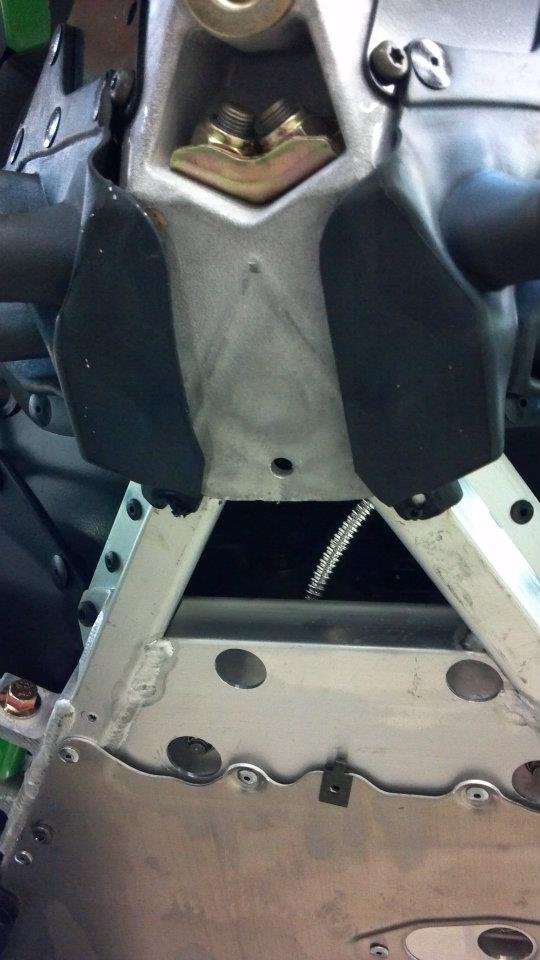
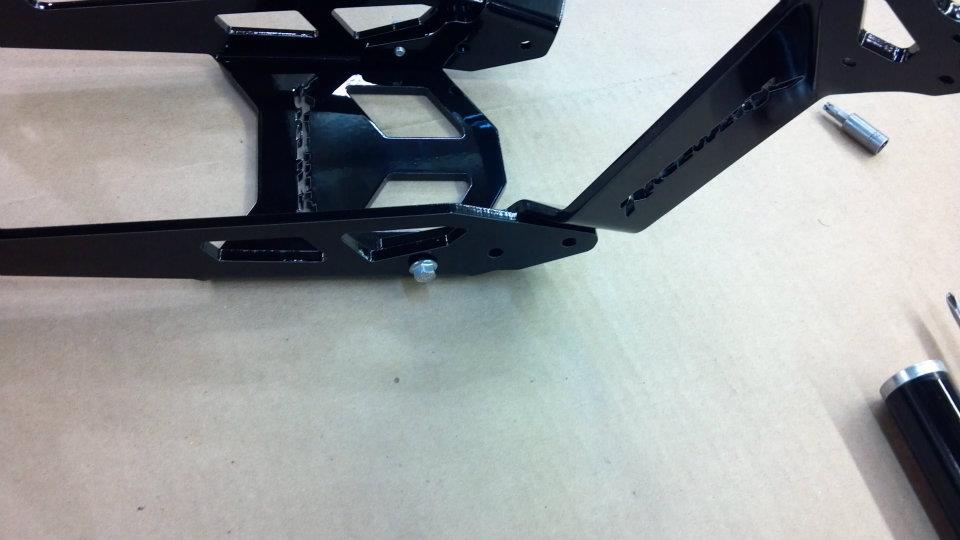
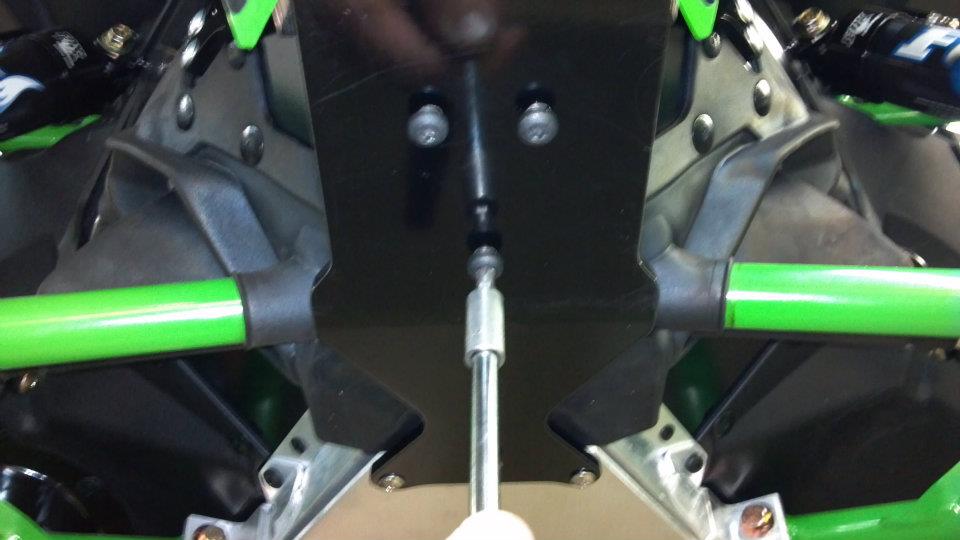
Carefully install the rear skid plate and rear center skid bolt. Be sure to use the longer screws in the front 2 holes. Use a 6mmx25 bolt for the rear of the center skid plate.Do not tighten at this time.
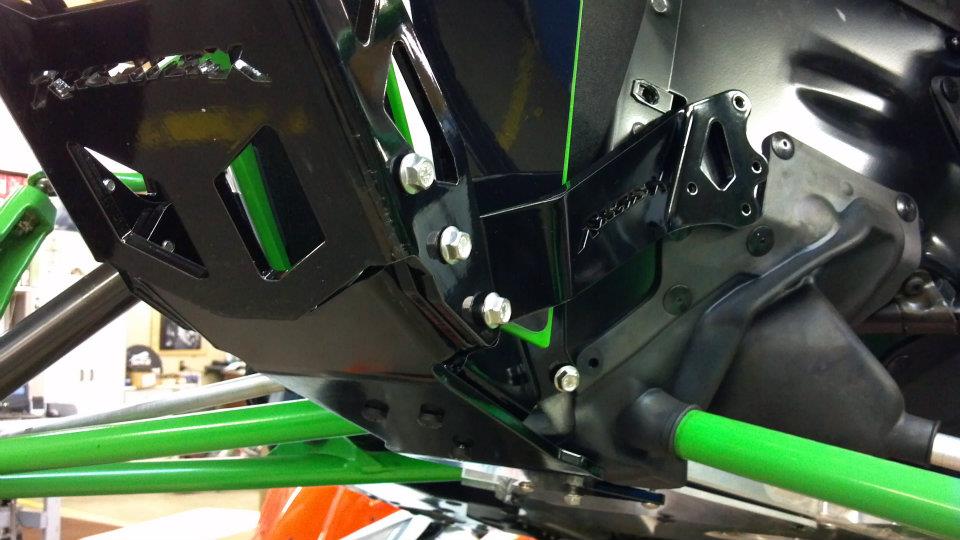

Install the front arm with the remaining 6mmx20 bolts. Do not tighten at this time.
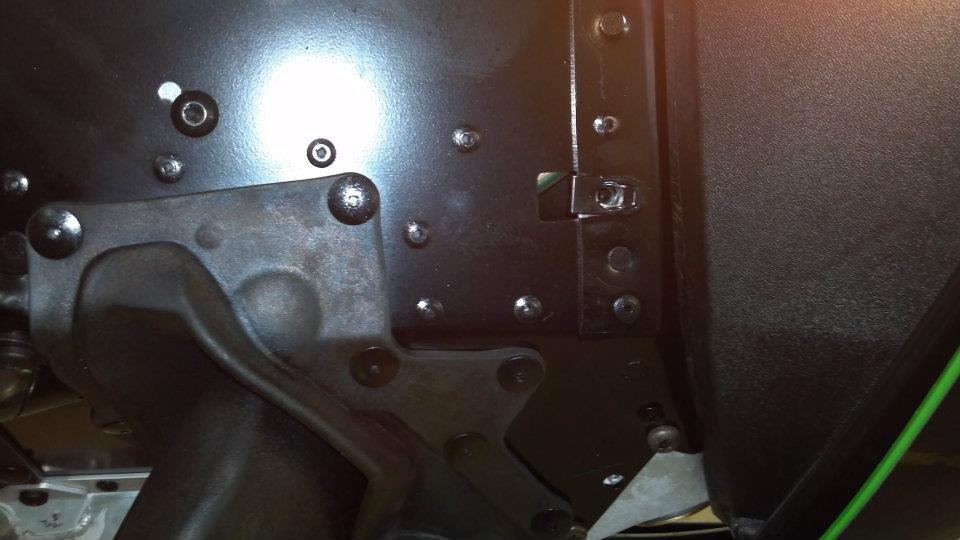
1) Install both rivets into there holes on the left side.
2) Install 4 rivets into the holes on the right side. Once all rivets are in there respective holes they may be popped. These are a heavy duty huck rivet and an air riveter is recommended.
1) Once the 2 left side rivets have been installed you will need to drill the remaining 2 holes. Be careful not to drill to deap as damage may occur.
2) Install the remaining 2 rivets.
1) Tighten the center skid plate hardware first. Torque to 84in/lbs
2) Then tighten the rear bolt to 84in/lbs
1) Tighten the 4 lower mount bolts to 84in/lbs.
2) Tighten the front arm bolts evenly to 84in/lbs
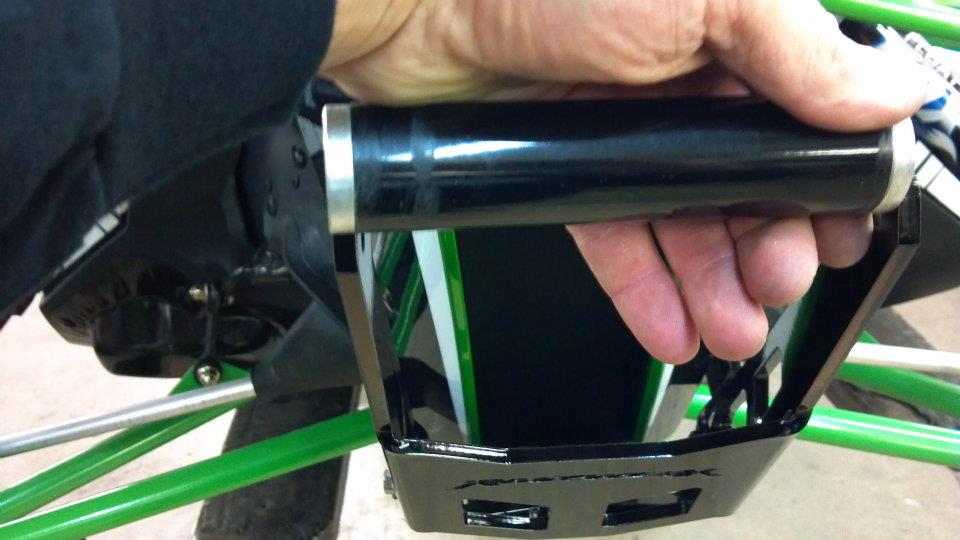
1) Install the front grab handle. You will need to spread the front arm slightly to install this.
2) Install the 8mm bolts in the front grab handle. Torque to 8 to 12 ft/lbs
1) Install the 2 new black rivets in the rubber boot.
2) Tighten rear skid plate screws. Double check all hardware for tightness. Remember we recommend blue locitite on all hardware. Please contact us with questions or concerns.
This is a simple guide to install and may be subject to future changes.


